windows terminal + power shell调教手册
一、安装 windows terminal 和 power shell 7
windows terminal直接在应用商店里搜索安装即可:
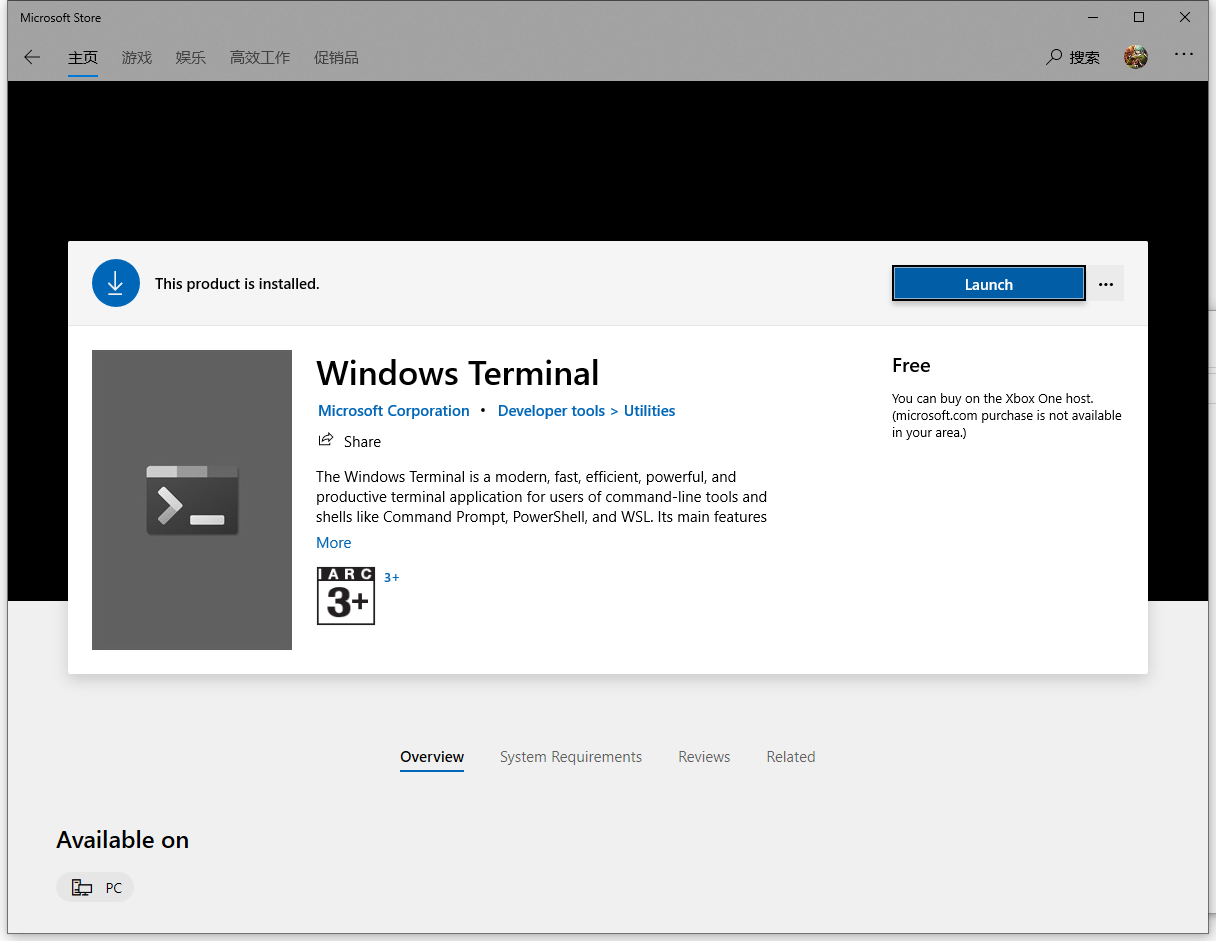 image-20201115172018617
之后安装新版的power shell:
可以参考官方文档
全部安装好之后,从开始菜单打开power shell7,以管理员身份启动:
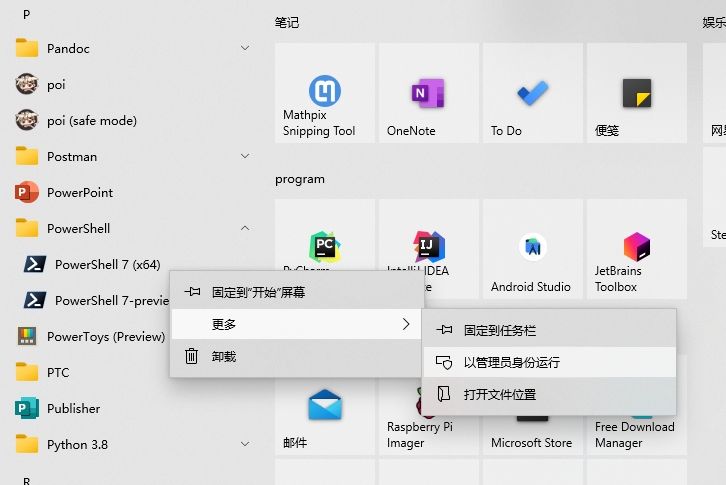 image-20201115174738972
下面的操作,除非特殊说明,记得都要以管理员身份运行。
二、安装Chocolatey
Chocolatey是一个Windows下的包管理系统,我们下面的很多插件等都需要使用他来进行安装,安装非常简单,只需要在power shell中执行:
1
| Set-ExecutionPolicy Bypass -Scope Process -Force; [System.Net.ServicePointManager]::SecurityProtocol = [System.Net.ServicePointManager]::SecurityProtocol -bor 3072; iex ((New-Object System.Net.WebClient).DownloadString('https://chocolatey.org/install.ps1'))
|
即可完成安装:
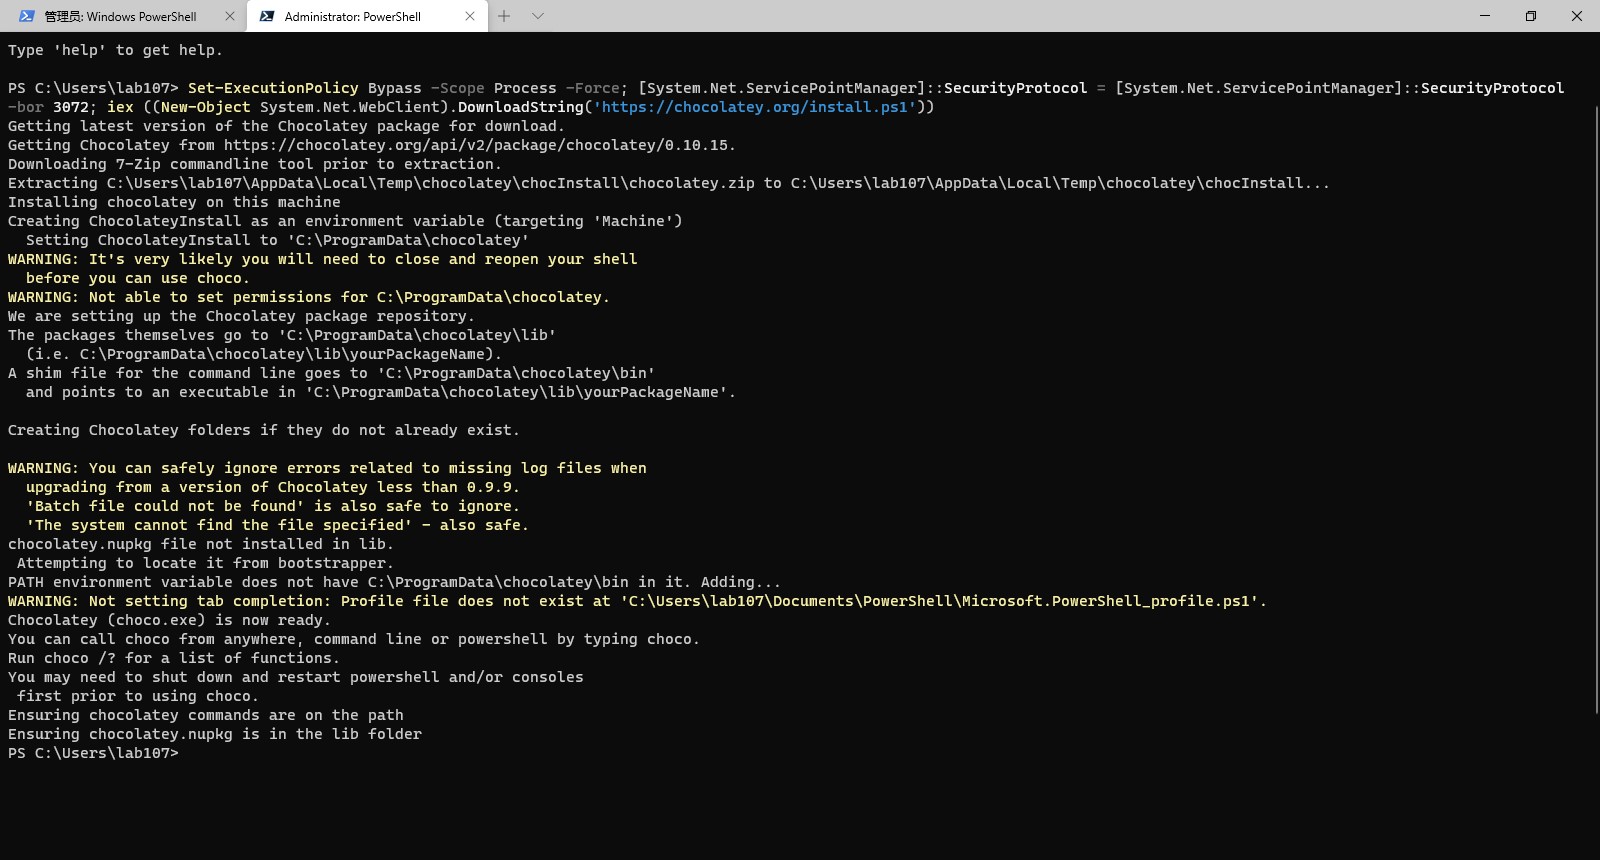 tem2
tem2在下面的过程中,若碰到使用Choco命令安装软件包时出现超时报错的,可以考虑为Choco设置代理:
1
| choco config set proxy http://127.0.0.1:1080
|

三、安装oh-my-posh
目前,只要安装了Windows terminal就可以直接安装oh-my-posh了。
注意,下面的操作一定是在以管理员身份运行的power shell中进行!
1、安装microsoft-windows-terminal包:
1
| choco install microsoft-windows-terminal
|
之中会碰到询问是否运行安装脚本,输入A(意为全部同意),回车
 tem3
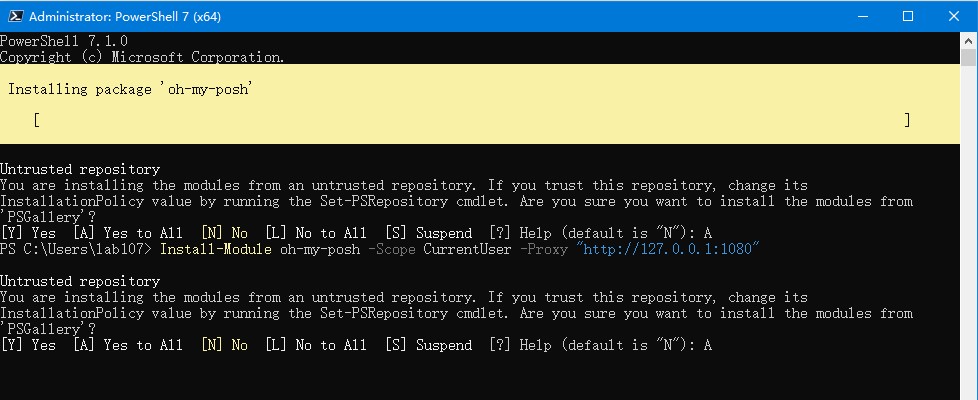
tem32、分别安装posh-git和oh-my-posh:
1
2
| Install-Module posh-git -Scope CurrentUser
Install-Module oh-my-posh -Scope CurrentUser
|
同理,若网络条件不佳导致安装失败,可以考虑通过代理安装:
1
2
| Install-Module posh-git -Scope CurrentUser -Proxy "http://127.0.0.1:1080"
Install-Module oh-my-posh -Scope CurrentUser -Proxy "http://127.0.0.1:1080"
|
同样,按A,继续运行安装
3、安装PSReadLine
1
| Install-Module -Name PSReadLine -AllowPrerelease -Scope CurrentUser -Force -SkipPublisherCheck
|
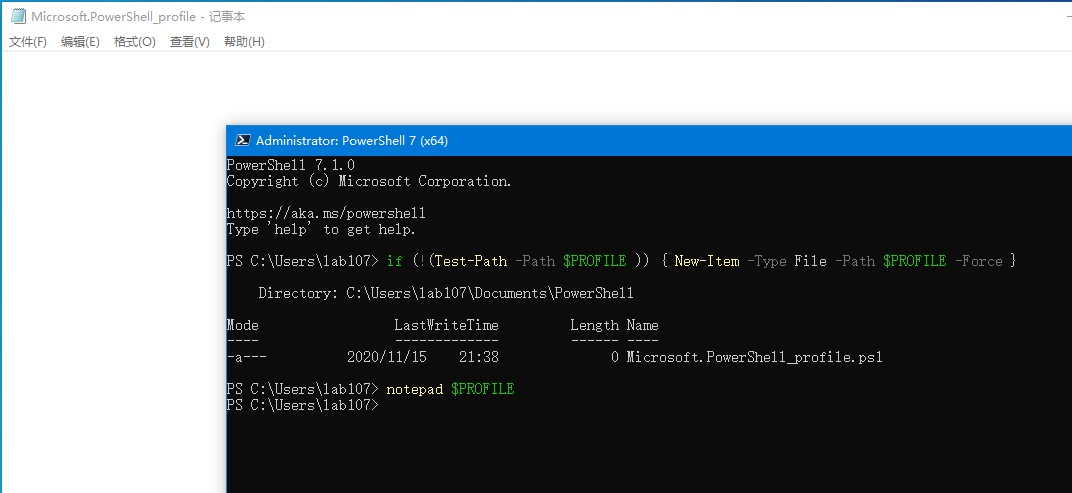
4、生成配置文件
1
2
| if (!(Test-Path -Path $PROFILE )) { New-Item -Type File -Path $PROFILE -Force }
notepad $PROFILE
|
第一行代码运行之后,即可通过第二行代码打开配置文件
在此配置文件中输入如下信息:
1
2
3
| Import-Module posh-git
Import-Module oh-my-posh
Set-Theme Paradox
|
最后一行为主题,你也可以换成你自己喜欢的主题
之后运行此代码,使配置文件生效:
1
| set-executionpolicy remotesigned
|
5、安装支持字体
由于主题涉及到一些特殊字符,因此需要安装支持这些特殊字符的字体,
oh-my-posh官方文档中推荐的是Meslo LG M Regular for Powerline Nerd Font
当然,你也可以前往这个字体所在的GitHub项目选择其他自己喜欢的字体下载。
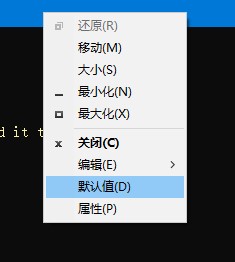
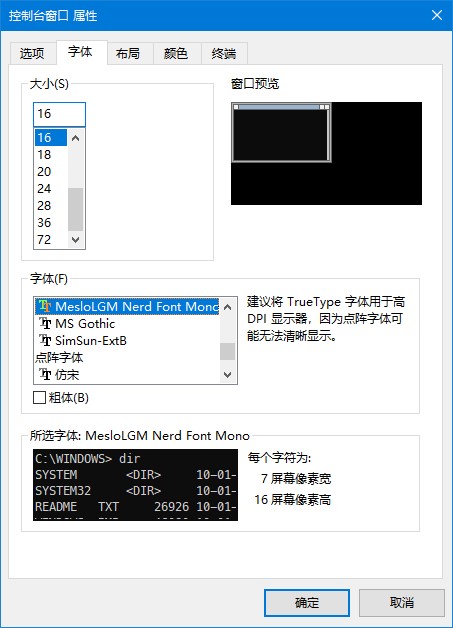
右键power shell标题栏,选择默认项,将字体改为刚刚安装的MesloLGM Nerd Font Mono
重新打开power shell,可以看到主题已经成功加载出来了
四、编辑Windows terminal配置文件
刚刚仅仅是修改了power shell的配置,但是打开Windows terminal可以看到字体仍然没有加载,且默认的终端也不是刚刚安装的power shell7,而是旧版的power shell,此时就需要修改Windows terminal配置文件。
点击标签栏的剪头,选择设置,自动打开配置文件
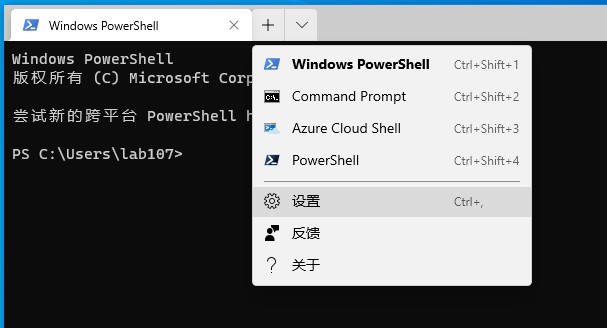
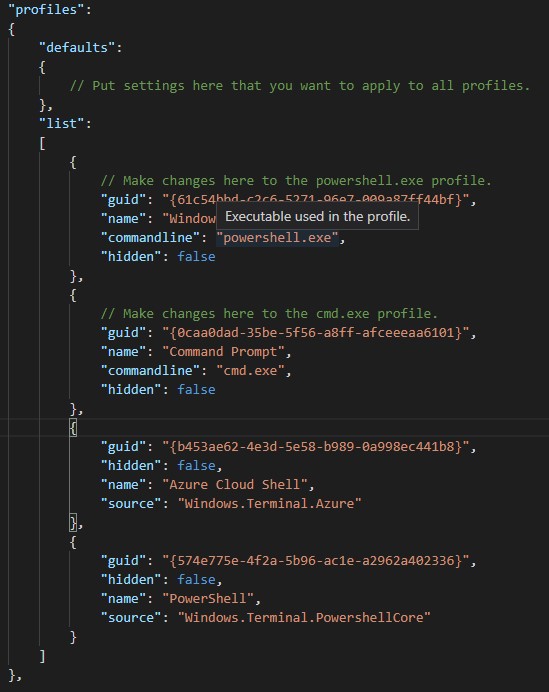
此时在你的"profiles"的列表中应该有默认的四个配置,从上到下分别为默认power shell、CMD、Azure Cloud Shell、和刚刚安装的power shell7
1、设置power shell字体
选择PowerShell,为其添加字体和字号颜色等配置:
1
2
3
4
5
| "colorScheme": "Campbell",
"useAcrylic": true,
"closeOnExit": false,
"acrylicOpacity": 0.8,
"fontFace": "MesloLGM Nerd Font Mono"
|
记得不是最后一行的要加逗号
这里如果不清楚字体名字,可以参考上一步power shell配置中选择的那个名字
2、设置默认终端为power shell7
在配置文件的开头处,将defaultProfile改为power shell7的guid即可,如下图所示:

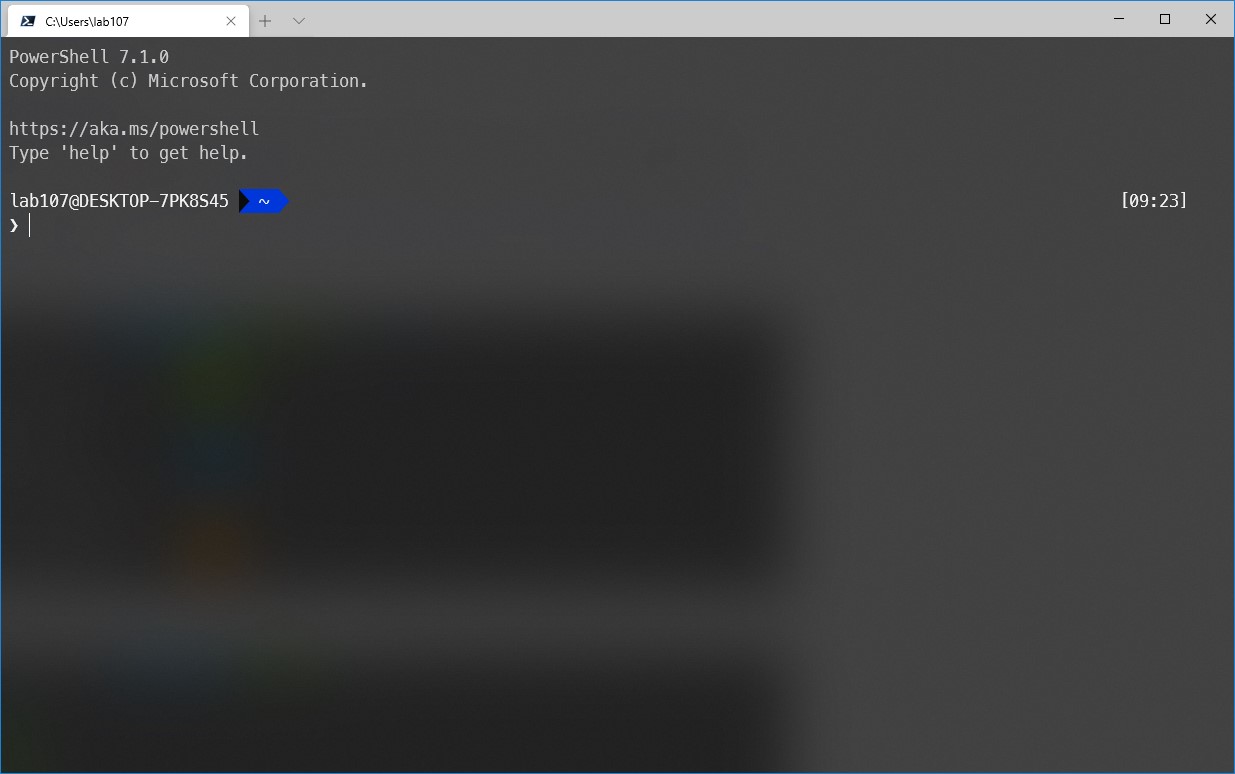
此时载打开Windows terminal,可以看到界面已经焕然一新:
3、修改(添加)默认快捷键:
你可以根据官方文档自己修改,也可以直接参考我给出的这份配置文件:
1
2
3
4
5
6
7
8
9
10
11
12
13
14
15
16
17
18
19
20
21
22
23
24
25
| "actions":
[
{ "command": {"action": "copy", "singleLine": false }, "keys": "ctrl+c" },
{ "command": "paste", "keys": "ctrl+v" },
{ "command": "find", "keys": "ctrl+shift+f" },
{ "command": "newTab", "keys": "ctrl+n" },
{ "command": "closeTab", "keys": "ctrl+shift+w" },
{ "command": "closePane", "keys": "ctrl+delete" },
{"command": { "action": "splitPane", "split": "auto", "splitMode": "duplicate" },"keys": "alt+["},
{"command": { "action": "moveFocus", "direction": "up" },"keys": "alt+up"},
{"command": { "action": "moveFocus", "direction": "down" },"keys": "alt+down"},
{"command": { "action": "moveFocus", "direction": "left" },"keys": "alt+left"},
{"command": { "action": "moveFocus", "direction": "right" },"keys": "alt+right"},
{"command": { "action": "resizePane", "direction": "up" },"keys": "ctrl+alt+up"},
{"command": { "action": "resizePane", "direction": "down" },"keys": "ctrl+alt+down"},
{"command": { "action": "resizePane", "direction": "left" },"keys": "ctrl+alt+left"},
{"command": { "action": "resizePane", "direction": "right" },"keys": "ctrl+alt+right"},
{"command": "scrollUp","keys": "ctrl+up"},
{"command": "scrollUpPage","keys": "ctrl+shift+up"},
{"command": "scrollDown","keys": "ctrl+down"},
{"command": "scrollDownPage","keys": "ctrl+shift+down"}
]
|
主要一个要说的就是分割窗口:
- 通过
alt+[来分割窗口 - 通过 alt+上下左右 来切换到不同的窗口(也可以直接通过鼠标点击)
- 在对应的窗口通过 ctrl+alt+上下左右 来调整大小
五、使用设置及插件安装
1、自动补全扩展
同理,通过
打开power shell配置文件,在下面添加一行:
1
| Set-PSReadlineKeyHandler -Key Tab -Function MenuComplete
|
这样当使用Tab补全时,会可视化的列出补全选项,且可以直接通过光标选择
2、文件检索插件fzf
首先通过Chocolatey安装fzf:
接下来安装power shell支持:
之后打开配置文件:
在配置文件中禁用默认的配置方案,并导入模块。
添加:
1
2
3
| Import-Module PSFzf
Remove-PSReadlineKeyHandler 'Ctrl+r'
|
此时可以通过在需要查询的文件夹中按 Ctrl+t 打开搜索功能
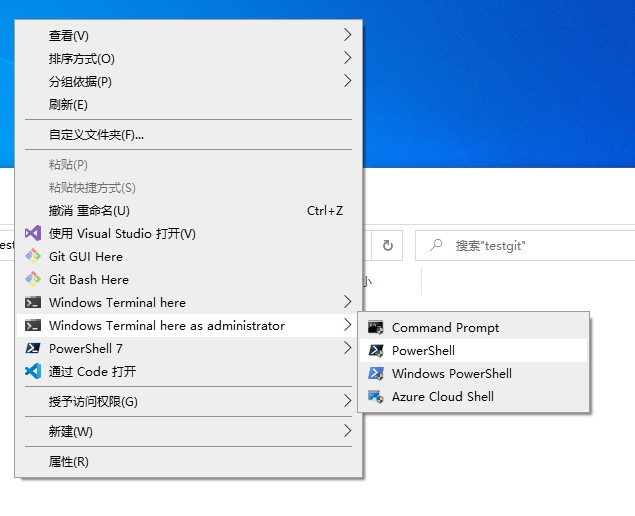
六、将Windows terminal添加到右键菜单
直接安装:
1
| Set-ExecutionPolicy Bypass -Scope Process -Force; [System.Net.ServicePointManager]::SecurityProtocol = [System.Net.ServicePointManager]::SecurityProtocol -bor 3072; iex ((New-Object System.Net.WebClient).DownloadString('https://raw.githubusercontent.com/lextm/windowsterminal-shell/master/install.ps1'))
|
这一步若因网络原因导致无法从GitHub下载文件,可以考虑采用以下指令来为power shell设置全局代理:
之后想要取消代理,则执行:
执行之后,可以看到现在的右键菜单中已经有了Windows terminal。
参考文献: